5 Simple Heatless Hairstyles for Summer
Turn down the heat on your hair with these easy, summer-ready hairstyles.
For many of us, heat styling is our guilty pleasure. Whether it’s a blow dryer, curling irons, or flat iron, we all have a favorite hot tool that we turn to for those special occasions—but heat styling can be incredibly stressful on your strands, especially during the summer months.
With endless sunny days ahead, summertime is an excellent time to embrace your natural texture with heatless hairstyles that leave hair with a healthy-looking finish. That’s why we’re here to share some of our favorite simple heatless hairstyles for summer and beyond, including step-by-step tutorials.
How can heat lead to hair damage?
As much as we all love a heat-styled look, they can come with some not-so-nice side effects. Direct heat is often too much for your hair to handle which can cause damage to your cuticle leaving the more delicate parts of your strands vulnerable to further breakage.
Some common signs of heat damage include:
- Dryness
- Split ends
- Brittle strands
- Frizzy hair and flyaways
Summer-Ready Heatless Hairstyles
These simple heatless hairstyles for any hair types are great for anything your summer throws your way and may help prevent heat damaged hair. Plus, heatless hairstyles allow you to embrace your hair’s natural texture so you can be more comfortable in the skin you’re in all summer long.
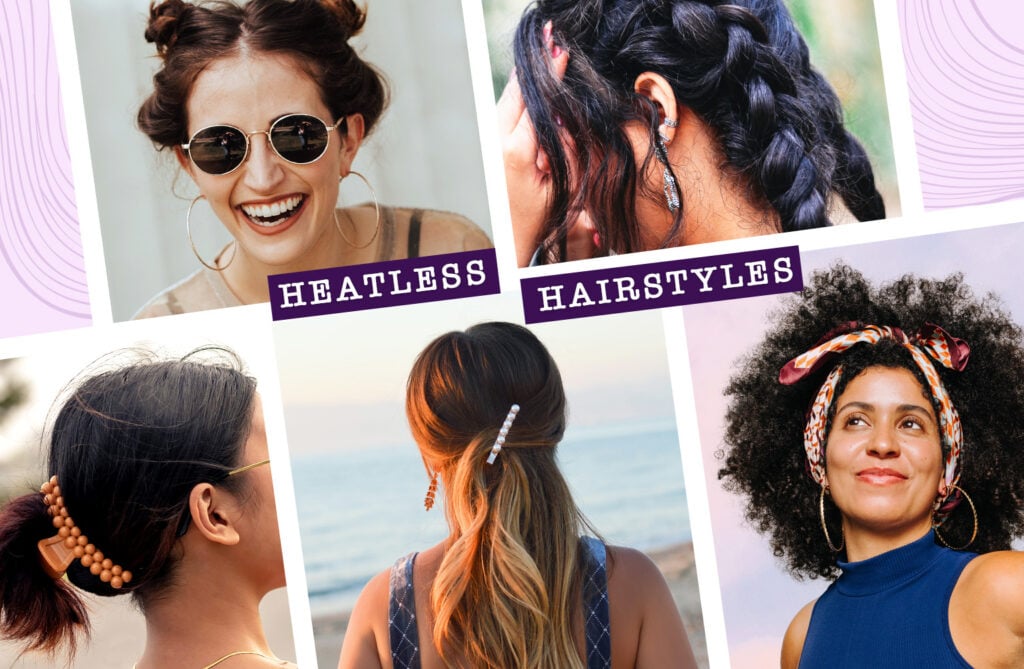
Effortless Claw Clip
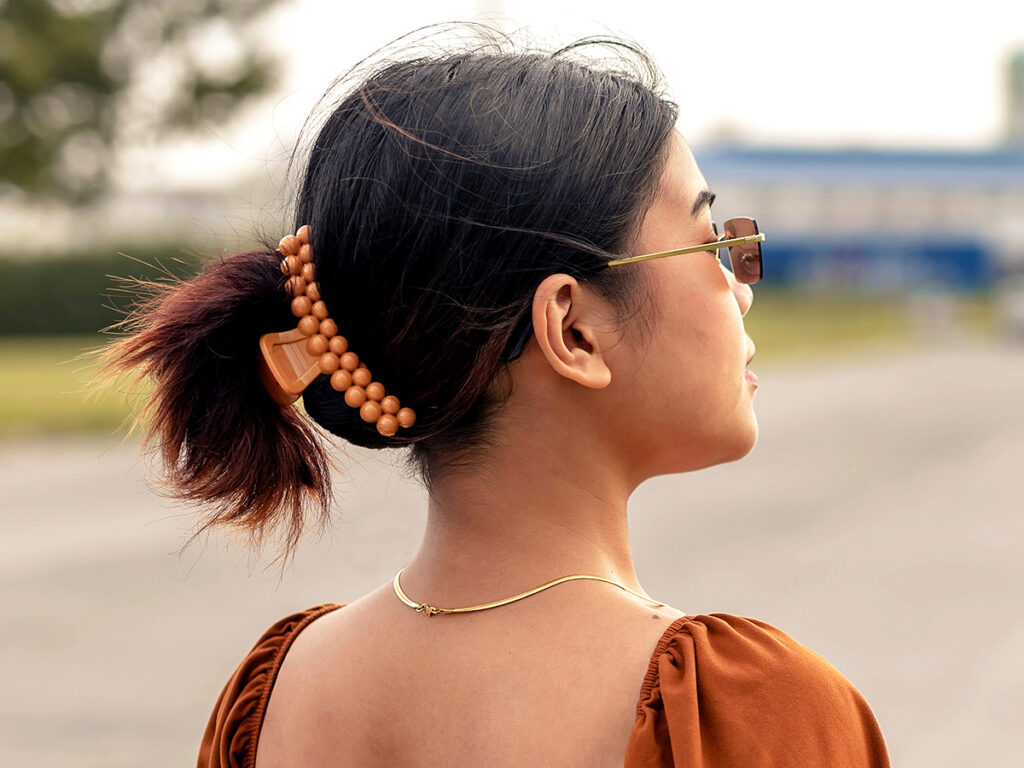
We all love this blast from the past—the claw clip. This late 90’s, early 2000’s accessory has made its way back into our hearts with its simple, yet charming look.
Perfect for any summer occasion, the claw clip pulls hair back, out of your face and off of your neck for an added cooling effect. It also gives your style an effortlessly put-together finish in just a few seconds. Match your clip to your outfit or experiment with smaller or larger clips to really make this style your own.
Step-By-Step Tutorial
- Brush hair removing any tangles and part down the middle.
- Gather hair towards the nape of your neck into a loose pony.
- Twist hair upwards once and secure it towards the bottom of your hair with a claw clip.
- Allow the remaining hair that is not secure to fall over the claw clip creating an effortlessly cool look.
Silk Scarf Headband
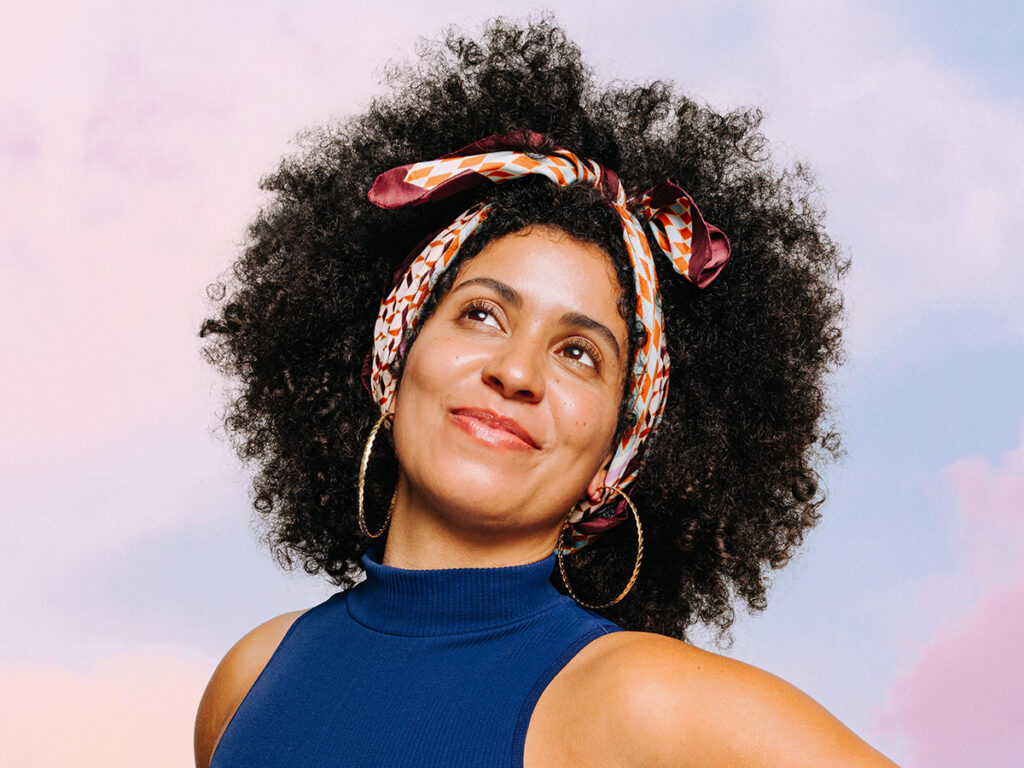
Maybe it’s the silk, but this classy style makes us feel like we’re on a European getaway with a bubbly beverage in hand. Plus, the silk material may help protect your scalp and roots from direct sun exposure with a gentle touch while hiding frizz. This is a chic yet simple option for those looking to jazz up your next dinner date, brunch, or even beach day look while still showing off your length.
Step-By-Step Tutorial
- Let your natural texture fall as it naturally does. You may want to brush through until it’s manageable or spritz strands with a saltwater spray for some added texture.
- Fold the scarf in half, forming a triangle.
- Roll the scarf from the long end to the tip.
- Wrap the scarf around the back of your head so the ends are in the front of your head.
- Secure the ends into a knot, tying twice and leaving the tails out.
- Push the scarf back ever so slightly so about an inch of hair shows in the front.
Boho Braids
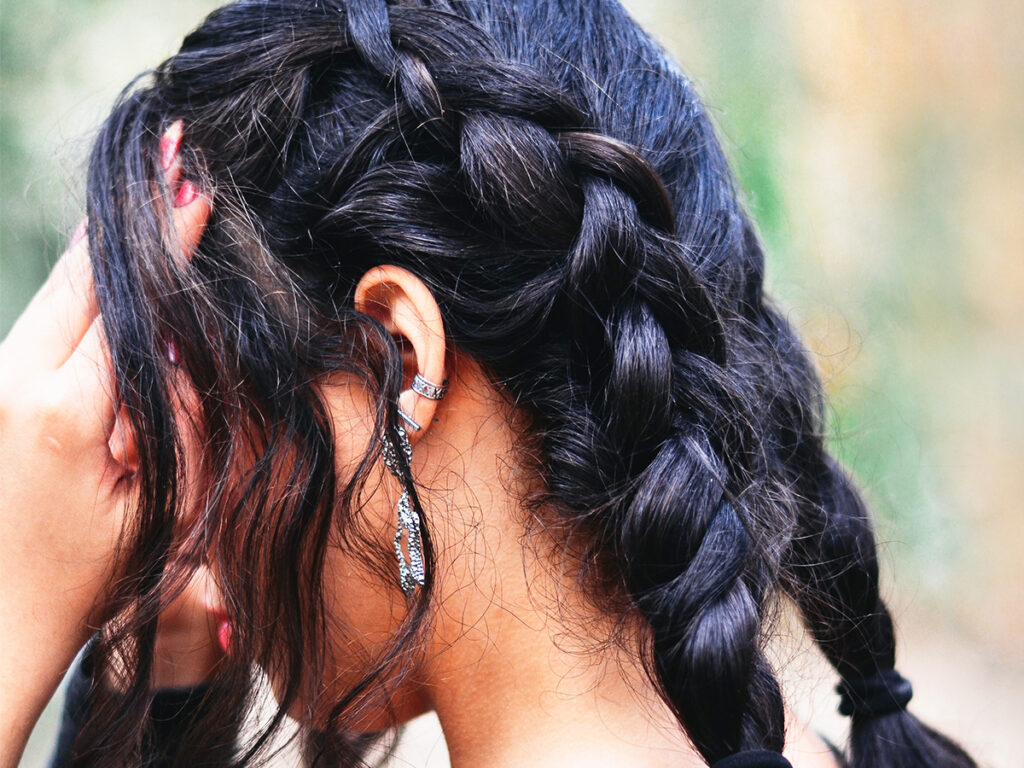
Nothing says summer like a braided style. The bohemian aesthetic is a perfect example of an easy yet enchanting style that fits right in for the summer months. These Boho Braids are a great option for those who want to pull their hair back but aren’t satisfied with their regular ponytail. These braids provide a protective element to your strands while still being versatile enough for the beach or your next outdoor activity. As an added bonus, when you take out your braids you’ll get to enjoy beautiful beachy waves.
Step-By-Step Tutorial
- Section your hair down the middle into two sections. Clip the section you’re not working on with bobby pins or other clips out of the way to avoid grabbing any of that hair.
- Create a triangle section at the front hairline to begin working with. Separate this section into 3 smaller sections which will be your braiding strands.
- Take the left section of hair and cross it over the center like a normal three-strand braid. After doing this initial braid, you can start incorporating hair from the outside of the braid to begin weaving your French braid.
- Continue grabbing hair from the left and right sections, being sure you weave the hair over the previously braided section rather than under like you would with a traditional braid.
- Repeat braiding until all of the hair is added then continue with a three-strand braid through the length of your hair. Be sure to continue braiding over rather than under.
- Leave about two inches unbraided and secure with a hair tie or elastic.
- Repeat on the other side.
- Once both braids are complete, gently pull each part of the braid outward to create a lose, boho look.
Beachy Half-Up Half-Down

We’re confident this is going to be your next date night, girl’s night or solo night out look. This heatless style allows for hair to be out of your face while still flaunting your length and showcasing some dimension to your locks. You can really make this look your own by where and how you choose to pin up the top half of your hair or by the decorative clip or pin you choose to use. Either way, this simple style is sure to turn heads this summer.
Step-By-Step Tutorial
- Start by either creating beach waves by letting your hair sit in braids or work with your natural texture and hair type.
- Once all of your hair is curled, used a wide tooth comb to brush out curls to create an effortless, beachy look
- Take a small section of hair behind your ears on both sides towards the top of your head and pin together with a bobby pin (may need more than one depending on thickness of hair)
- Once the first section of hair is secured, grab two more sections (one from each side) of hair at the hairline, leaving out the front pieces to frame the face). Loosey pull these sections back and pin over the first pinned section
- Use a decorative pin in the middle to secure hair and complete the look
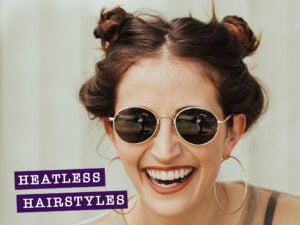
Undone Space Buns

Whether you have curly hair, straight hair, or something in between this galaxy-inspired look is an easy way to take your summer look to new heights. These space buns take on a playful approach to the usual messy bun that offers a laidback yet stylish finish. You can even put your own flair on this summer-approved hairstyle with a headband or hair ties with baubles.
Step-By-Step Tutorial
- Part hair down the middle.
- Bring up the right section of hair and secure into a high ponytail. Pull out a couple pieces from the front to frame your hair and repeat on the left side.
- Tease each ponytail to create volume and an undone look.
- Loosely twist the right pony away from your face and wrap your pony around the hair tie. Pin the tail of the pony under the bun.
- Repeat on the left side.
- Gently pull hair out from each bun to create a loose, messy look.
- Finish with hairspray if desired to help the buns stay put.
With these five simple heatless styles, your summer hair plans are set. For more ways to unlock gorgeous hair with styles and hair care, follow us @aurahaircare on Instagram and TikTok.

