A Self-Care Ritual: DIY Face Masks to Pair With Your Hair Masque
Self care and hair care make the perfect pair.
Whether it’s taking a candlelit bubble bath or enjoying your weekly hair Masque session, it’s important to treat yourself and enjoy life’s little pleasures. To make the most of these moments, we’ve hand-selected a few of our favorite easy DIY face mask recipes to pair with some of our top personalized hair Masque formulas for a one-two-punch of hair care and skin care. Each recipe uses simple ingredients that you may already have at home so all you have to do is mix, apply, and relax.
DIY Face Mask and Hair Masque Pairings
These pairings are designed to complement one another, but feel free to mix and match to create your perfect hair Masque and face mask combo. We even made a recipe card for each face mask so that you can print the recipe out. Simply right-click on the image, save it to your computer, print it out, and bam! You’re ready for your self-care Ritual.
Hair Masque Goals: Smooth, Enhance Curls, Repair
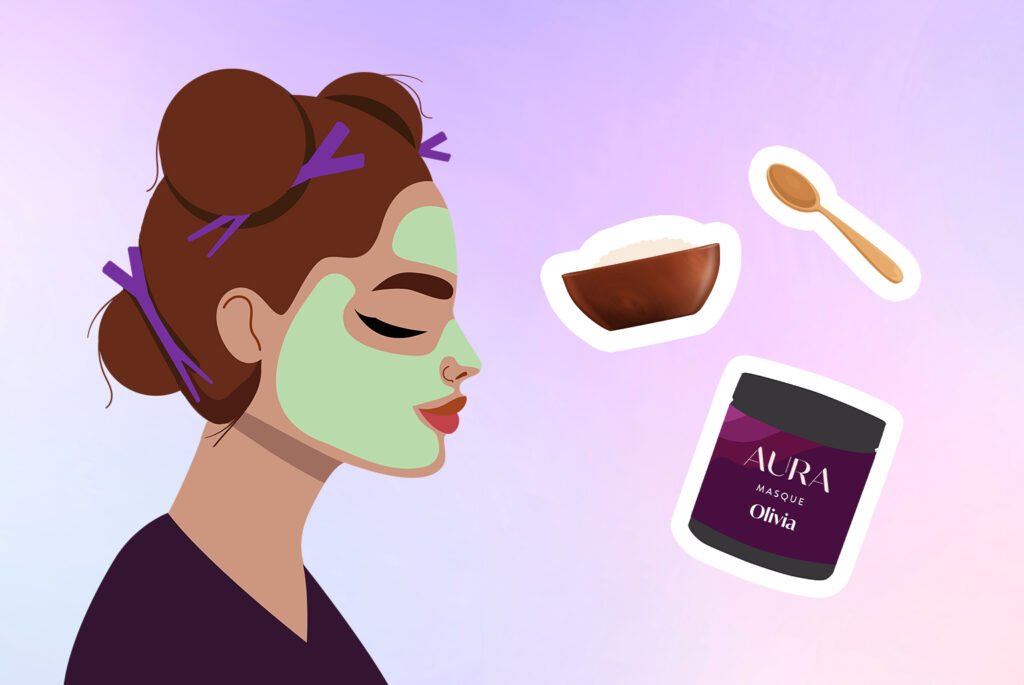
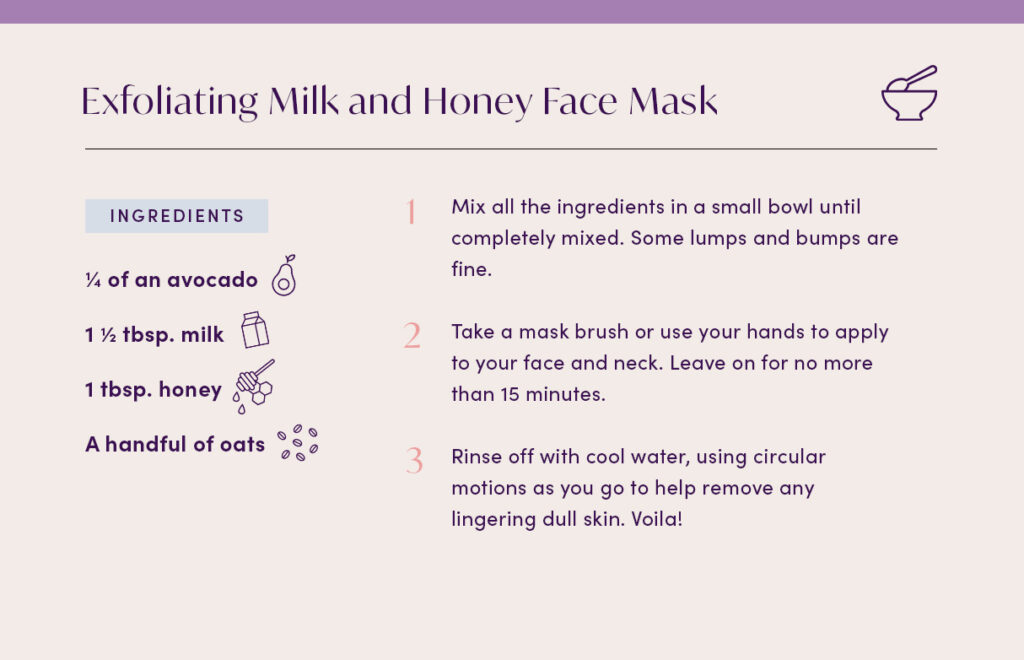
DIY Face Mask: Exfoliating Milk and Honey Face Mask
There’s something about smooth hair and silky skin that just makes you feel like a million bucks. If Smoothing is one of your main hair needs paired with Enhance Curls and Repair, try this gentle exfoliating face mask to hit ALL of your skin and hair goals at the same time.
This face mask is made with just four simple ingredients: hydrating avocado, skin-soothing oats, a splash of milk, and antioxidant-rich honey. Milk contains Lactic Acid which gently sloughs away dead skin cells while honey is a true miracle ingredient. When applied to the skin, honey may help reduce the appearance of scars and increase both healing and tissue regeneration—plus, it leaves your skin with an irresistibly sweet smell.
To make this mask:
Ingredients:
- ¼ of an avocado
- 1 ½ tbsp. milk
- 1 tbsp. honey
- A handful of oats
Instructions:
- Mix all the ingredients in a small bowl until completely mixed. Some lumps and bumps are fine.
- Take a mask brush or use your hands to apply to your face and neck. Leave on for no more than 15 minutes.
- Rinse off with cool water, using circular motions as you go to help remove any lingering dull skin. Voila—smooth skin with an otherworldly glow!
Hair Masque Goals: Enhance Curls, Repair, Moisturize
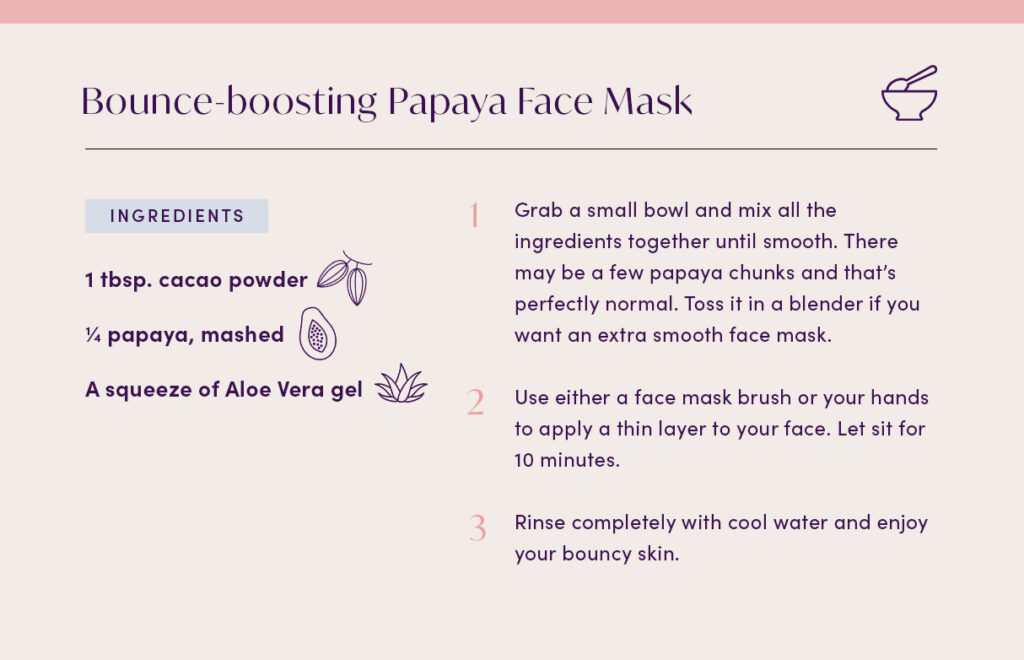
DIY Face Mask: Bounce-boosting Papaya Face Mask
Refresh your curls and give your skin some extra bounce at the same time with this fruit-forward face mask. With a few slices of fresh papaya, a healthy dose of aloe vera, and a dash of cacao (yes, that’s chocolate), your skin will feel just as rejuvenated as your hair.
Both papaya and aloe vera are packed with Vitamin C and A, which are essential for building collagen and keeping skin plump. These nourishing vitamins also promote healthy hair growth so go ahead and munch on your leftover papaya for an extra boost of hair-healthy action.
To make this mask:
Ingredients:
- 1 tbsp. cacao powder
- ¼ papaya, mashed
- A squeeze of Aloe Vera gel
Instructions:
- Grab a small bowl and mix all the ingredients together until smooth. There may be a few papaya chunks and that’s perfectly normal. Toss it in a blender if you want an extra smooth face mask.
- Use either a face mask brush or your hands to apply a thin layer to your face. Let sit for 10 minutes.
- Rinse completely with cool water and enjoy your bouncy skin.
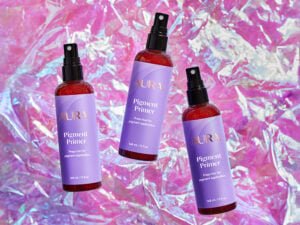
Hair Masque Goals: Color Protect, Smooth, Moisturize + Neutralizer Pigments
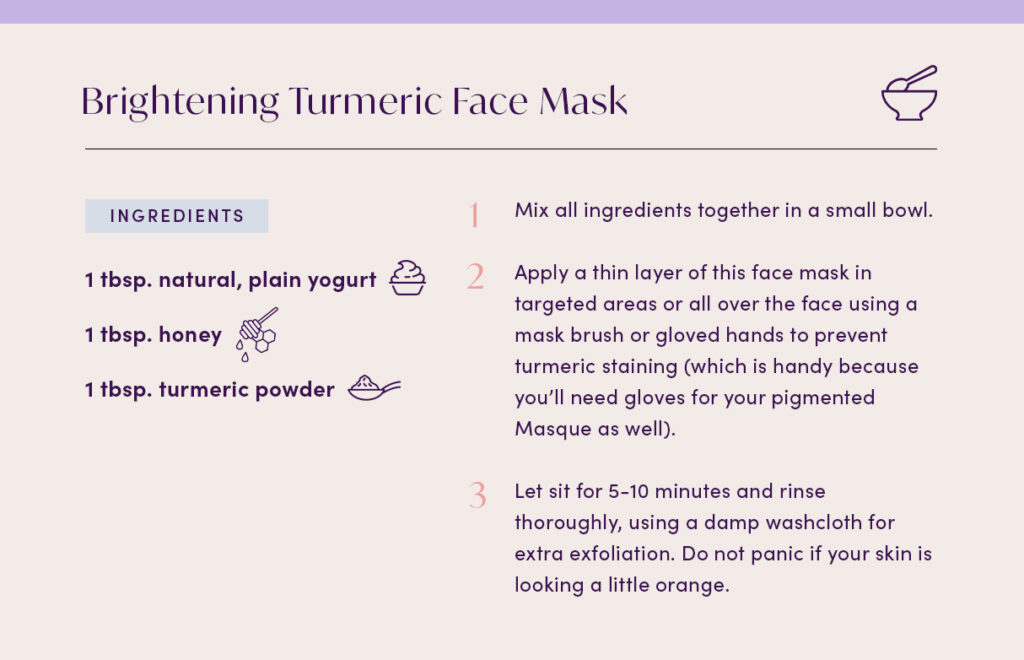
DIY Face Mask: Brightening Turmeric Face Mask
To get long-lasting, non-brassy hair color, you turn to our personalized hair Masque with Neutralizing Pigments. For even skin tone and texture, this turmeric mask is your new go-to. Just remember that turmeric may stain the skin for a few hours (it does fade!) so try this face mask before bed or a night at home.
Turmeric has long been used to combat hyperpigmentation and may also neutralize (see what we did there?) redness caused by inflammation. Combined with the moisturizing properties of honey and yogurt’s concentration of exfoliating lactic acid, get ready to say hello to gorgeous glowing skin. Best of all? You never have to take off your robe.
To make this mask:
Ingredients:
- 1 tbsp. natural, plain yogurt
- 1 tbsp. honey
- 1 tbsp. turmeric powder
Instructions:
- Mix all ingredients together in a small bowl.
- Apply a thin layer of this face mask in targeted areas or all over the face using a mask brush or gloved hands to prevent turmeric staining (which is handy because you’ll need gloves for your pigmented Masque as well).
- Let sit for 5-10 minutes and rinse thoroughly, using a damp washcloth for extra exfoliation. Do not panic if your skin is looking a little orange—that’s just the turmeric doing it’s thing.
DIY Face Mask Tips
People have been making their own facial concoctions at home for generations because it can be a simple, effective, and just plain old fun way to elevate your skin care routine. That being said, here are four simple pointers to make sure that your DIY face mask doesn’t become a DIY mishap.
1. Always mix first, then apply.
Although dermatologists agree that at-home face masks are safe, there are a few ingredients, like lemon juice and apple cider vinegar, that should never go on your face solo. If they are not mixed with other ingredients, they can be harsh on your skin instead of nourishing.
2. Check all expiration dates.
You know that milk that’s been sitting in your fridge since you moved in? Yeah, you don’t want to put that on your face. A good rule of thumb if something doesn’t have a sell-by date (like avocado for instance) is, if you wouldn’t eat it, you shouldn’t mask it.
3. If you’re trying new ingredients, do a patch test.
Just like coloring your hair, it’s always better to be safe than sorry. If you’ve never put a certain mixture of ingredients on your skin before, it’s a good idea to try a small patch on the side of your neck or somewhere discreet, just in case.
4. Use your mask the day you make it.
Certain things just don’t save well, and DIY face masks are one of them. Once ingredients are exposed to air and bacteria, they can very quickly go bad and cause skin irritation. To err on the side of caution, make your mask with high-quality ingredients and use it within an hour of preparing.
We hope you enjoyed these Masque and mask pairings to enhance your next self-care routine—because you deserve a little pampering! Try these recipes and let us know what you think! For more self-care inspo and insider hair care tips, check out our Instagram @aurahaircare. Make sure to tag us in your selfies so we can see your face mask and hair Masque in action!